What if we told you there’s a simple, at-home hack that could help you say goodbye to those annoying skin tags without expensive treatments? Those small, soft skin growths, medically known as acrochordons, often pop up in frustrating places like your neck, underarms, eyelids, groin, or even under the breasts. While completely harmless, their presence can be incredibly bothersome, constantly catching on clothing or jewelry and making you feel self-conscious.
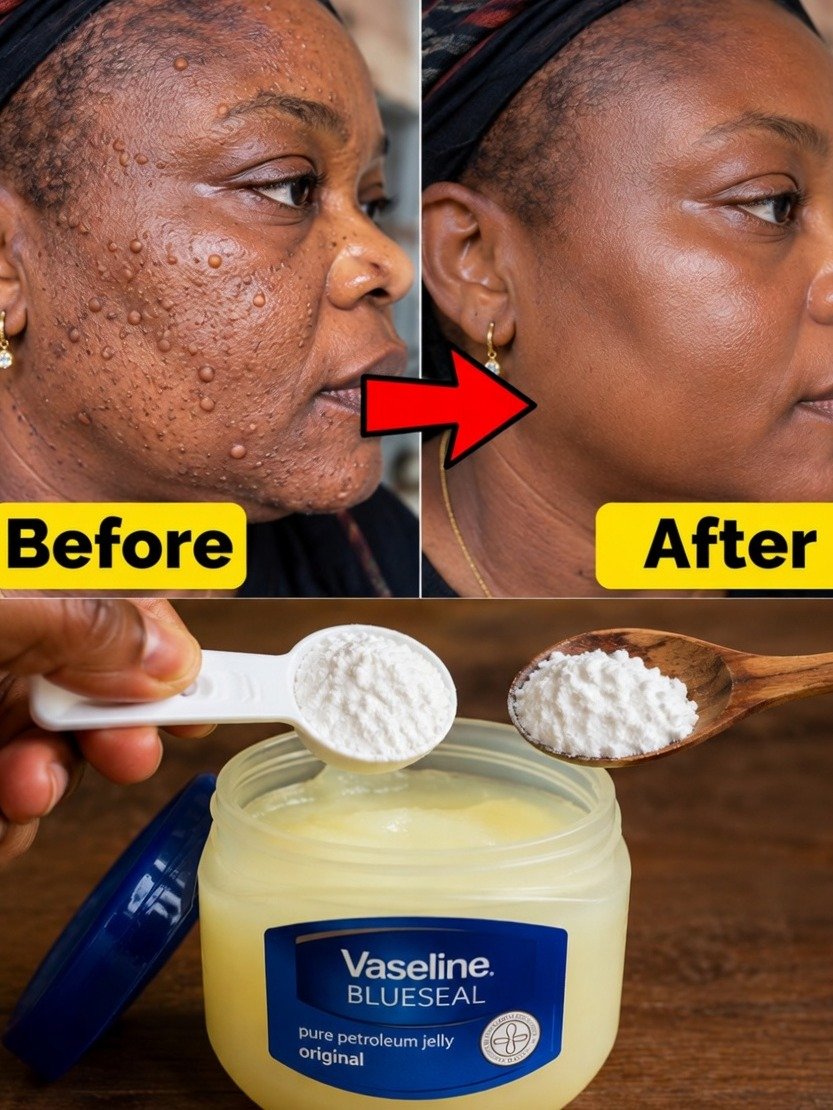
If you’ve been searching for a gentle, natural, and effective at-home solution, the Vaseline method has emerged as a widely celebrated and skin-safe DIY technique across online communities. This ingenious approach leverages petroleum jelly’s renowned protective qualities in synergy with mild natural ingredients, encouraging skin tags to gradually dry out and eventually detach on their own.
A crucial reality check before you start this journey: It’s important to understand that no single home remedy can guarantee overnight removal of a skin tag for every individual. Those sensational claims of “instant results” are frequently overblown or might only apply to tiny tags already on the verge of falling off. For most users, consistent and diligent application of this method typically yields visible changes within 3 to 14 days. The enduring popularity of the Vaseline method stems from its soothing nature, minimal risks when performed correctly, and its reliance on easily accessible household products.
Why Vaseline Works So Well for Skin Tags
Petroleum jelly, commonly known as Vaseline, doesn’t directly eliminate the skin tag. Rather, its brilliant function lies in creating a powerful protective barrier that offers several key benefits:
- It effectively seals in moisture, which helps to soften both the skin tag and the delicate skin surrounding it.
- This barrier actively works to prevent any undue dryness or irritation from developing in the treated area.
- Crucially, it ensures that the active natural ingredient you’re using remains in direct contact with the tag for an extended period, maximizing its efficacy.
When strategically combined with mild, natural agents such as tea tree oil, fresh garlic, or baking soda, this method can gradually diminish the blood supply to the skin tag. This process encourages the tag to darken, shrink, and ultimately detach itself in a completely natural way.
Top 3 Vaseline-Based Methods for Skin Tags
Below, we’ve outlined the most sought-after Vaseline combinations, carefully ranked according to their gentleness and the overwhelmingly positive feedback from users.
Method 1: Vaseline + Tea Tree Oil (The Gentlest & Most Widely Used)
Renowned for its natural antimicrobial qualities, tea tree oil offers a mild yet effective controlled drying action, making it an ideal partner for this treatment.
Here’s your step-by-step guide for this method:
- Begin by thoroughly cleaning the affected area with a gentle soap and water, then ensure it’s completely dry by patting it.
- Carefully apply a thin, protective ring of Vaseline around the very base of the skin tag. This crucial step safeguards your healthy surrounding skin.
- Take a fresh cotton swab, dip it into pure tea tree oil, and meticulously apply the oil exclusively onto the skin tag itself.
- Gently cover the treated skin tag with an additional light layer of Vaseline, sealing in the tea tree oil.
- For added protection and to keep the treatment in place, you can optionally cover it with a small bandage.
- Allow the treatment to work overnight, and consistently repeat this process every single evening.
Many individuals report observing the skin tag begin to darken and visibly shrink within a timeframe of 3 to 10 days, with an average noticeable change often occurring around 5–7 days.
Method 2: Vaseline + Fresh Garlic (A More Potent Alternative)
Garlic is packed with allicin, a powerful natural compound known for its ability to potentially accelerate the drying out process of skin tags.
Follow these steps for the garlic method:
- Take a small, fresh garlic clove, crush it well, and let it sit exposed to air for about 10 minutes to activate its compounds.
- Just as with the previous method, apply a protective layer of Vaseline around the very base of the skin tag.
- Carefully place only a tiny speck of the crushed garlic directly onto the skin tag.
- Gently cover the garlic with another layer of Vaseline, and if you wish, secure it with a small bandage.
- Leave this application on overnight, and be sure to rinse the area thoroughly with water in the morning.
You can often expect to see results within 4–10 days. However, it’s important to note that this particular method can be more irritating to the skin, so proceed with extra caution and monitor your skin’s reaction closely.
Method 3: Vaseline + Baking Soda Paste (A Gentle Exfoliating Strategy)
Baking soda offers a mild, drying effect along with gentle exfoliation, making it another viable option for skin tag removal.
Here’s how to prepare and apply the baking soda paste:
- Combine 1 teaspoon of baking soda with just enough water (a few drops) to create a thick, consistent paste.
- As with the other methods, apply a protective barrier of Vaseline around the base of the skin tag.
- Carefully spread the prepared baking soda paste directly onto the skin tag.
- Cover this application with an additional layer of Vaseline to keep it in place.
- Allow it to remain on overnight, and then rinse the area clean with water the following morning.
You’ll typically observe clear signs of progress with this method within 7–14 days of consistent application.
What to Expect: Realistic Timeline
- Initial Phase (Days 1–3): You might notice the skin tag beginning to change color, often darkening to a brown or black hue, and starting to visibly shrink in size.
- Mid-Phase (Days 4–10): During this period, the tag typically develops a crust and should naturally detach and fall off on its own.
- For Larger Tags: Be aware that bigger skin tags might require a longer treatment duration, potentially 2–4 weeks, or may ultimately necessitate professional intervention from a dermatologist.
Reported Success Rate: A significant number of users have shared success rates ranging from 60–85% when applying these methods regularly, particularly effective on smaller skin tags that are pea-sized or even smaller.
Safety First – Important Warnings
- Crucial Warning: Absolutely never attempt to cut, tie off, or forcibly pull a skin tag yourself. Such actions carry significant risks, including severe bleeding, potential infection, and permanent scarring.
- Exercise extreme caution and consider avoiding these home remedies on sensitive areas such as the face, eyelids, or genital region unless you are exceptionally careful and confident.
- Before full application, always perform a 24-hour patch test on an inconspicuous area of your skin to check for any adverse reactions.
- If you experience any signs of intense redness, a burning sensation, swelling, or the presence of pus, discontinue the treatment immediately and seek medical advice.
- Refrain from using these methods on children without first consulting with a medical professional.
It’s imperative to consult a dermatologist if your skin tag exhibits any of the following characteristics:
- It starts to bleed, undergoes a sudden change in color, grows rapidly in size, or becomes painful to the touch.
- You have underlying medical conditions such as diabetes, experience poor circulation, or are currently taking blood-thinning medications.
For larger skin tags or those located in highly sensitive regions, professional treatments like cryotherapy (freezing), ligation (tying off), or simple surgical excision continue to be the safest and most recommended options.
How to Start Safely Tonight
- Select the method that feels most comfortable and gentle for your skin; the tea tree oil approach is typically ideal for those new to this treatment.
- Carefully apply a protective layer of Vaseline around the very base of the skin tag.
- Precisely apply your chosen active ingredient *only* to the skin tag itself, avoiding surrounding healthy skin.
- Gently seal the treated area with an additional layer of Vaseline and leave it on overnight.
- For best tracking, snap a “before” photograph today and continue taking progress pictures every 3–4 days to document your journey.
Final Thoughts
The Vaseline method presents itself as a gentle, budget-friendly, and relatively comfortable approach for tackling smaller skin tags right in the comfort of your home. While it’s essential to understand this isn’t an instant miracle cure, a commitment to patience and consistent application frequently culminates in satisfying natural results, all with a remarkably low risk of scarring.
Important Medical Disclaimer: Please be advised that the content of this article is provided strictly for informational purposes and should never be considered a replacement for professional medical advice, diagnosis, or treatment. While skin tags are generally benign, any sudden alterations in their appearance, size, or sensation warrant immediate examination by a qualified healthcare provider. It’s also important to note that home remedies, while popular, can sometimes lead to skin irritation or an incomplete removal of the tag. If you have any uncertainties or concerns, always prioritize consulting a dermatologist for expert, personalized guidance tailored to your specific situation.