Are you tired of those persistent blackheads and congested pores that seem to defy every cleansing attempt? These tiny dark spots, frequently appearing on the nose and chin, can leave your complexion looking uneven and lackluster. The quest for blemish-free skin often leads to investing in expensive products or adopting aggressive routines that can strip your skin of its natural moisture and cause irritation. But what if a gentle, effective solution could be found right in your kitchen? Many individuals are exploring the benefits of egg whites as a natural, homemade remedy for clearer-looking skin. In this guide, we’ll explore why this simple ingredient has gained popularity and how you can easily incorporate it into your skincare regimen.
Understanding Blackheads: Causes and Formation
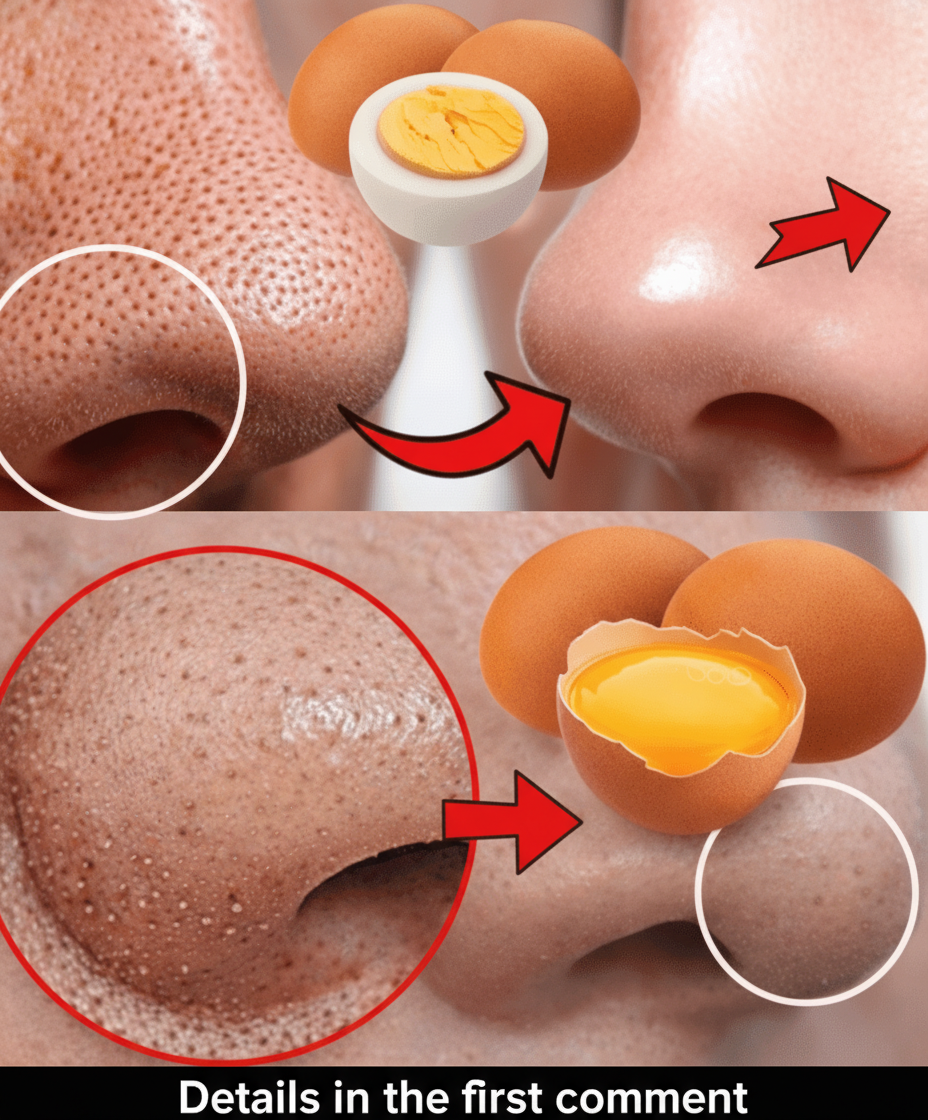
Blackheads, medically termed open comedones, are a prevalent skin issue impacting individuals across various age groups and skin types. They emerge when a hair follicle or pore becomes partially obstructed. This blockage typically consists of sebum (your skin’s natural oil), dead skin cells, and environmental debris. When this mixture is exposed to air, it oxidizes and darkens, forming the characteristic “black dot.” Several elements can exacerbate their presence, including hormonal fluctuations, high humidity, and even specific cosmetic formulations. The encouraging news is that adopting a gentle skincare approach, emphasizing oil regulation and diligent pore care, can significantly enhance your skin’s clarity and texture.
The Allure of Egg Whites in DIY Skincare
For generations, egg whites have been a staple in homemade beauty treatments. Their appeal lies in their rich protein content, particularly albumin, which creates a noticeable, temporary firming sensation as the mask dries on your complexion. This natural astringent quality is often cited by users as beneficial for soaking up excess surface oil and temporarily refining the look of enlarged pores. Furthermore, egg whites contain lysozyme, an enzyme known for its gentle antimicrobial attributes, which some believe contributes to a clearer skin appearance. However, it’s important to approach this with realistic expectations: while many individuals report positive anecdotal results, reputable sources, including Medical News Today, indicate that scientific evidence specifically supporting the long-term topical benefits of egg whites is limited. Skincare professionals frequently point out that any observed improvements are typically transient and superficial. Nevertheless, for those seeking a simple, natural, and low-cost addition to their routine, an egg white mask remains an accessible option worth considering.
Reported Benefits: What Users Often Experience
- A noticeable, albeit temporary, decrease in the visibility of pores.
- Effective absorption of superficial oil, contributing to a desirable matte finish.
- An immediate sensation of refreshed and smoother skin post-application.
- A gentle tightening effect, leaving the skin feeling momentarily firmer.
- Provides an easy, natural substitute for commercial pore-cleansing strips.
It’s crucial to understand that individual results can differ significantly depending on your specific skin type, the regularity of use, and your overall skincare regimen. These are frequently reported observations, not universally guaranteed outcomes.
Your DIY Guide: Crafting and Applying an Egg White Face Mask
Eager to experience these potential benefits for yourself? This traditional peel-off mask method is incredibly simple and requires only a few basic items.
Gather Your Supplies
- One fresh egg (opting for pasteurized eggs is highly recommended to minimize bacterial risk)
- A small, thoroughly cleaned mixing bowl
- Several sheets of thin facial tissue or toilet paper
- (Optional) A dedicated, clean brush for even application
Application Steps
- Prepare Your Skin: Begin with a freshly cleansed and completely dry face. Use a mild facial cleanser, then gently pat your skin dry with a clean towel.
- Separate the Egg: Carefully crack the egg and separate the white from the yolk, placing only the egg white into your clean bowl.
- Whip the White: Lightly whisk the egg white until it becomes slightly frothy. This consistency makes it easier to spread smoothly and evenly across your skin.
- First Layer Application: Using either your clean fingertips or a dedicated facial brush, apply a thin, even layer of the frothed egg white to areas where blackheads are common, such as your nose, chin, and forehead.
- Apply Tissue Strips: Promptly place a single layer of facial tissue or toilet paper over the wet egg white, pressing it down gently to ensure it adheres well to your skin.
- Second Layer Application: Apply another thin coat of egg white directly over the tissue layer, saturating it completely.
- Allow to Dry: Let the mask dry undisturbed for approximately 15 to 20 minutes. You will notice a distinct tightening sensation as the mask hardens and sets.
- Gentle Removal: Once fully dry, carefully begin to peel off the mask. Start from the edges and pull upwards slowly and steadily.
- Post-Mask Care: Rinse any lingering mask residue from your face with lukewarm water, then follow up with your preferred gentle, hydrating moisturizer to soothe and nourish your skin.
Recommended Usage: To prevent potential over-drying or irritation, limit this treatment to 1-2 times per week.
Important Pro Tip: Before applying the mask to your entire face, always conduct a patch test. Apply a small quantity of the egg white to an inconspicuous area, such as the inside of your arm, and wait 24 hours to check for any adverse reactions or irritation.
Bonus Tip: Repurpose Your Leftover Egg Yolk for a Hydrating Boost
There’s no need to discard the egg yolk! Many consider it a wonderful ingredient for a quick, nourishing skin treatment:
- Gently apply the raw egg yolk directly onto clean facial skin.
- Allow it to sit for approximately 10 minutes, letting the nutrients absorb.
- Rinse thoroughly with lukewarm water until all residue is gone.
Users frequently report that this simple yolk mask leaves their skin feeling remarkably softer and more deeply hydrated, attributed to its rich content of natural fats and essential nutrients.
Important Safety Precautions and Considerations
Although an egg white mask can be a gentle option for many, it’s crucial to be aware of potential risks and considerations:
- Allergies: If you have a known allergy to eggs, absolutely avoid using this mask. Topical application can trigger adverse reactions such as redness, itching, swelling, or hives.
- Skin Irritation: The inherent drying and tightening properties of egg whites might be too intense for individuals with naturally dry, sensitive, or compromised skin. If you experience excessive tightness or discomfort, remove the mask immediately.
- Bacterial Contamination Risk: Raw eggs can carry bacteria like Salmonella. To minimize this risk, always use the freshest possible eggs, and ideally, choose pasteurized eggs. Avoid applying the mask to broken skin, open wounds, or active acne lesions, as this could increase the chance of infection. Always wash your hands thoroughly before and after preparation and application.