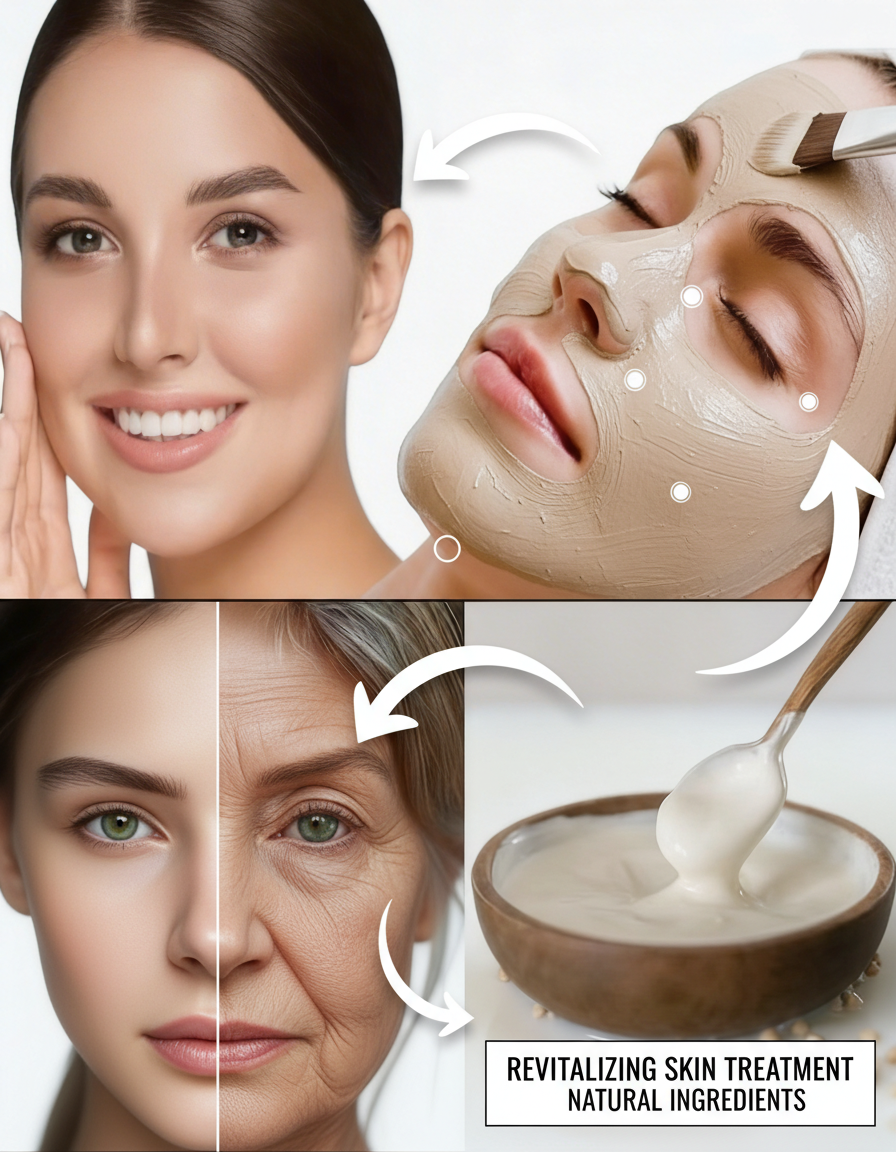
For many adults, particularly those over 40, the appearance of fine lines, increased dryness, or a noticeable reduction in skin firmness can diminish its natural vibrancy, even with consistent use of skincare products. The disappointment of using commercial creams that promise significant results but deliver little can often lead individuals to seek out gentler, more natural alternatives. What if simple kitchen staples like plain yogurt and nutritional yeast, when combined into easy-to-prepare masks, could provide a natural boost for softer, more hydrated, and revitalized skin? Explore two accessible recipes that many find incredibly soothing, along with essential tips for safe and effective application.
🌿 Understanding Age-Related Skin Changes and How Natural Ingredients Can Help
As we gracefully age, our skin undergoes natural transformations, including a decrease in collagen production and a reduced ability to retain moisture. These changes often manifest as a drier texture, the emergence of fine lines, and a loss of the skin’s natural bounce. If you’ve noticed your mirror reflecting more crepiness or a duller complexion, rest assured, this is a widely shared experience. Plain yogurt contains lactic acid, a mild alpha hydroxy acid (AHA) known for its gentle exfoliating properties, which research suggests can lead to a smoother skin feel. Nutritional yeast is a powerhouse of B vitamins and antioxidants, traditionally valued for their role in skin nourishment. Together, these ingredients offer a calming and enriching mask option. However, achieving noticeable improvements requires consistency—let’s delve into how to begin your natural skincare journey safely.
🥣 Why Yogurt and Yeast Are Becoming Popular Natural Skincare Choices
Plain, unsweetened yogurt is not only a kitchen staple but also a skincare ally, offering beneficial probiotics and lactic acid for potential gentle skin renewal and deep hydration. Nutritional yeast, in its deactivated flake form, is packed with B vitamins and may contribute to overall skin vitality through its use in traditional remedies. Enhancing these masks with nourishing carrier oils like olive, coconut, almond, or jojoba can significantly boost moisture without leaving a heavy residue. Many appreciate this affordable, DIY approach for its ability to deliver a luxurious, spa-like experience at home. If persistent dryness or a rough texture is your primary concern, these natural ingredients provide a comforting and effective starting point. Here’s how to incorporate them into your routine.
💆 Recipe 1: The Basic Yogurt and Yeast Mask for Gentle Exfoliation
For those aiming to address dullness with a straightforward routine, this fundamental mask offers mild lactic acid action combined with a powerful nutrient boost.
Step-by-step preparation:
- Combine 2 tablespoons of plain unsweetened yogurt.
- Add 1 teaspoon of nutritional yeast flakes.
- Stir thoroughly until you achieve a smooth, consistent paste.
How to apply:
- Spread the mixture evenly onto a clean face, being careful to avoid the delicate eye area.
- Allow yourself to relax for 10–15 minutes.
- Rinse off with lukewarm water.
- Use 2–3 times per week. Many users report a noticeably softer texture and a refreshed sensation after rinsing. This mask is both gentle and quick to prepare.
🧴 Recipe 2: The Hydrating Yogurt, Yeast, and Oil Mask for Enhanced Nourishment
If your main concern is dryness or a lack of plumpness, integrating carrier oils into your mask can help lock in moisture for extended comfort and a dewy finish.
Easy preparation:
- Combine 2 tablespoons of plain yogurt.
- Mix in 1 teaspoon of nutritional yeast.
- Add 1 teaspoon of your chosen carrier oil (such as olive, coconut, almond, or jojoba).
Application tips:
- Apply a thin layer to your face.
- Leave on for 10–20 minutes.
- Rinse gently with lukewarm water.
- Follow up with your usual moisturizer.
- Ideal for use 1–2 times weekly. The oils provide deep nourishment while the yogurt soothes—users often observe a subtle, dewy softness developing over time.
✅ Essential Tips for Maximizing Results with Your Yogurt and Yeast Masks
- Always Patch Test: Before full application, apply a small amount to your inner arm 24 hours prior. Yogurt’s acidity can sometimes cause a mild tingling sensation on sensitive skin.
- Choose Wisely: Use only fresh, plain, unsweetened yogurt without any artificial additives or flavors.
- Optimal Application Time: Apply the mask to clean skin in the evenings to maximize relaxation and allow your skin to absorb the benefits overnight.
- Embrace Consistency: Subtle improvements in hydration and texture are often observed after 4–8 weeks of consistent use.
- Support Your Skin: Complement your mask routine with daily sunscreen application and a gentle cleansing regimen.
- Monitor Progress: Track changes by taking weekly photos in consistent lighting conditions to observe subtle transformations.
📊 How Yogurt and Yeast Masks Address Common Skin Concerns
| Concern | How This Mask May Support | Best Recipe | Typical Timeline | Notes |
|---|---|---|---|---|
| Dryness & Dehydration | Promotes moisture retention through yogurt and emollient oils | Recipe 2 with oil | 2–6 weeks | Lactic acid combined with nourishing emollients |
| Dull, Rough Texture | Offers gentle exfoliation for a smoother surface | Basic Recipe 1 | 1–4 weeks | Mild AHA action reveals brighter skin |
| Loss of Radiance | Delivers essential nutrients and antioxidants for a healthy glow | Both recipes | 4–8 weeks | B vitamins from yeast contribute to vitality |
| Appearance of Fine Lines | Boosts hydration for a visibly plumper, smoother look | Recipe 2 | Ongoing | Provides soothing, supportive hydration |
| Overall Skin Comfort | Calming probiotics contribute to a balanced, comfortable feel | Alternate recipes | Immediate to weeks | Rooted in traditional natural remedies |
🌟 Your Gentle 8-Week Plan with Yogurt and Yeast Masks
- Weeks 1–2: Begin with a patch test. Then, incorporate the basic mask (Recipe 1) twice weekly. Focus on how your skin feels and its comfort level.
- Weeks 3–4: Introduce the oil-enhanced version (Recipe 2) once weekly, alongside your basic mask. Pay close attention to any changes in hydration.
- Weeks 5–8: Continue your established routine, adjusting the frequency as needed based on your skin’s response. Celebrate the progress towards a softer, more radiant complexion.
Remember, natural skincare routines, like those involving yogurt and yeast, flourish with patience and consistency—even small, regular steps can lead to significant improvements over time.
Frequently Asked Questions
Is a yogurt and yeast mask suitable for all ages and skin types?
While generally gentle for many, individuals with highly sensitive or acne-prone skin should perform a patch test first. Avoid if you have a known dairy allergy.
How long should I leave the yogurt and yeast mask on?
Aim for a maximum of 10–20 minutes. Rinse immediately if you experience any significant tingling or discomfort.
Can I use active baker’s yeast instead of nutritional yeast for these masks?
It is strongly recommended to stick to nutritional yeast flakes for topical application due to their beneficial nutrient profile and safety. Active baker’s yeast is not advised for use on the skin.
This information is provided for general educational purposes only and should not be considered as medical advice. Always consult with a healthcare professional or dermatologist for personalized skincare concerns.