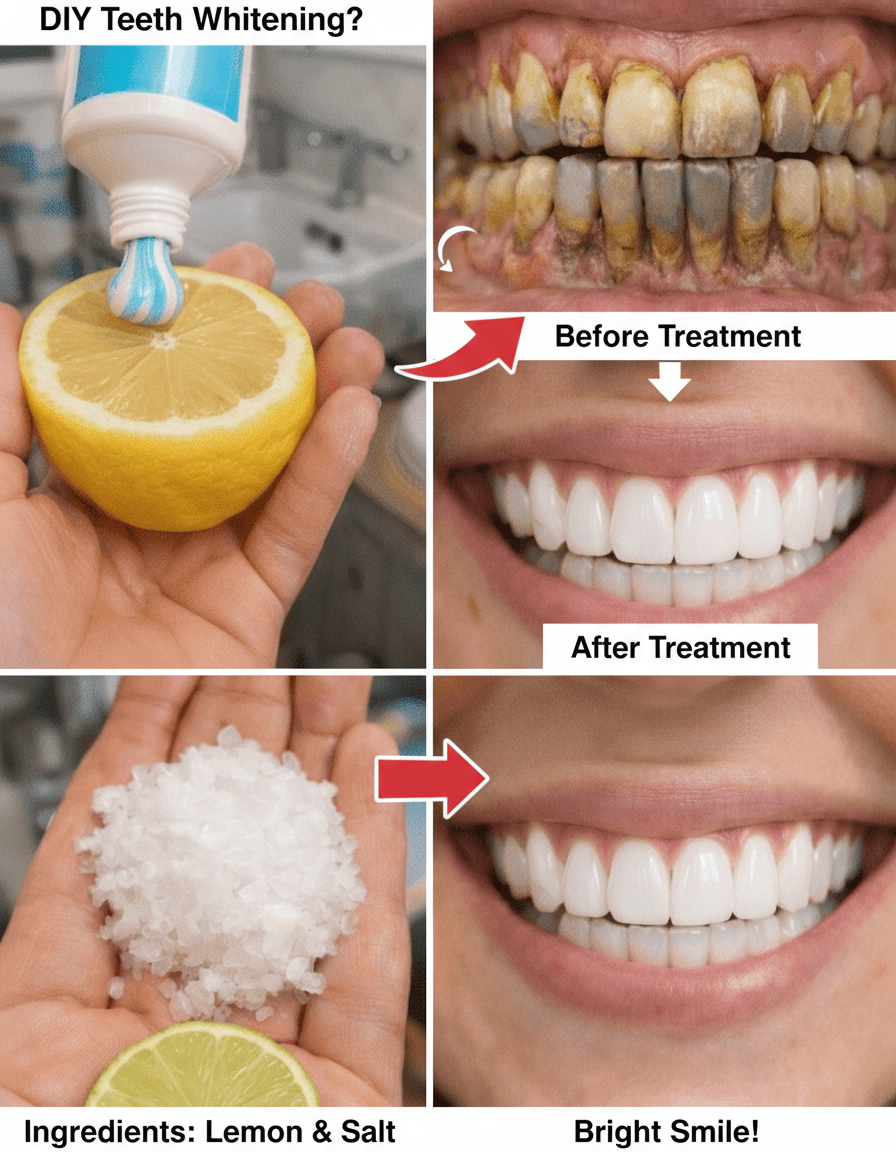
Achieve a Brighter Smile: Your Gentle At-Home Teeth Whitening Guide with Pantry Staples
Over time, many of us observe our teeth gradually losing their natural radiance. Daily routines, such as savoring a morning coffee or unwinding with a glass of red wine, can leave behind persistent surface stains, diminishing our confidence when we smile. This subtle yet noticeable discoloration often accumulates without us realizing it, impacting our self-presentation in social interactions and photographs. When commercial whitening products appear too abrasive or costly for consistent application, it can be disheartening. However, a gentle and effective approach exists to tackle these external stains right from your kitchen, providing an accessible starting point for a visibly brighter smile. Stay with us until the conclusion, where we’ll reveal a simple, often overlooked habit that could significantly extend your whitening results.
Understanding What Leads to Teeth Discoloration
Before embarking on any whitening regimen, it’s crucial to understand the primary reasons behind tooth discoloration. Often, the main culprit is surface stains, and identifying these can inform better preventative habits. Everyday consumables are significant contributors; for instance, beverages like coffee and tea contain tannins that adhere to tooth enamel. Similarly, red wine and dark sodas leave their mark, while smoking introduces tar and nicotine, which deeply embed into dental surfaces. Over time, even seemingly innocuous foods such as berries or tomato-based sauces can contribute to this cumulative staining. Beyond dietary factors, other elements play a role. Natural aging processes can thin tooth enamel, exposing the naturally yellower dentin beneath. Furthermore, certain medications or a lack of consistent oral hygiene can expedite this yellowing. The American Dental Association highlights that inadequate brushing allows plaque to solidify into tartar, creating a rougher surface where stains can cling more tenaciously. Fortunately, the majority of at-home teeth whitening methods are specifically designed to address these external discolorations, often delaying the need for professional dental treatments.
Building Your Gentle Whitening Routine Step by Step
This comprehensive routine outlines mild, readily available methods aimed at gently polishing away accumulated surface buildup. It is specifically formulated for gradual application, prioritizing the safety and protection of your tooth enamel. Bear in mind that consistent engagement with these gentle practices typically delivers the most noticeable and desirable outcomes over an extended period.
Starting with Baking Soda for Gentle Polishing
A common household item, baking soda, is widely recognized for its gentle abrasive qualities, which can effectively aid in the removal of superficial tooth stains. Here’s a straightforward way to integrate it into your routine:
- Combine approximately one teaspoon of baking soda with just enough water to form a smooth paste.
- Apply this mixture to your toothbrush and gently brush your teeth using small, circular motions for one to two minutes.
- Conclude by rinsing your mouth thoroughly with water.
Research, including findings published in the Journal of Clinical Dentistry, suggests that judicious use of baking soda can contribute to reducing both plaque and stains. To safeguard your enamel from potential wear, restrict this practice to once or twice weekly. Crucially, always follow up with your standard fluoride toothpaste to ensure comprehensive dental protection.
Incorporating Diluted Hydrogen Peroxide for a Subtle Boost
Hydrogen peroxide, frequently found in home first-aid supplies, is a prevalent ingredient in commercial whitening products thanks to its powerful oxidizing properties. To utilize it safely for at-home teeth whitening:
- Select a food-grade 3% solution and dilute it by mixing with an equal volume of water.
- Swish this diluted solution around your mouth for 30 to 60 seconds, exercising extreme caution to avoid swallowing.
- Afterward, rinse your mouth meticulously and proceed with your regular brushing.
Data from dental research, as highlighted in the International Journal of Dental Hygiene, indicates that such low concentrations can be beneficial for addressing mild tooth discoloration. However, refrain from daily use without prior consultation with a dental professional, as excessive application might lead to increased tooth sensitivity. This particular step effectively complements the baking soda treatment by tackling stains through a distinct mechanism, thereby offering a well-rounded approach to a brighter smile.
Trying Coconut Oil Pulling for Overall Freshness
Coconut oil pulling, a practice steeped in traditional wellness, is believed to enhance overall oral hygiene by potentially reducing harmful bacteria. Here’s a simple way to perform it:
- Measure out one tablespoon of coconut oil (either solid or liquid form is suitable).
- Swish the oil continuously around your mouth for 10 to 15 minutes, ensuring it passes between your teeth.
- When finished, spit the oil into a trash can (never down the sink to prevent plumbing clogs), then brush your teeth as usual.
While not a direct teeth whitener, a comprehensive review in the Journal of Traditional and Complementary Medicine suggests that oil pulling can significantly contribute to a cleaner oral environment, which in turn can indirectly improve the aesthetic appearance of your teeth. Incorporate this routine a few mornings each week for a revitalizing start to your day. Many individuals also note a distinctly smoother sensation on their teeth after consistent oil pulling sessions.
Experimenting with Strawberries and Baking Soda Occasionally
Strawberries contain natural malic acid, which is known for its astringent properties, while baking soda offers its gentle abrasive action. Combining these two can create an occasional, natural DIY teeth whitening treatment. Here’s how:
- Mash one ripe strawberry and mix it thoroughly with half a teaspoon of baking soda to form a paste.
- Apply this paste to your teeth using your finger or a soft toothbrush.
- Let it sit for no more than 5 minutes.
- Rinse your mouth thoroughly with water and then brush with your regular fluoride toothpaste.
Due to the acidic nature of strawberries, this method should be used very sparingly – ideally no more than once every few weeks – to prevent potential enamel erosion. It’s important to remember that while this can help with superficial stains, it’s not a substitute for regular dental care.
Achieving a brighter smile through these gentle at-home teeth whitening methods is a journey that requires consistency and patience. While these natural ingredients can significantly help in removing surface stains, maintaining your results is equally important. The often-overlooked habit that contributes greatly to lasting brightness is simply rinsing your mouth with water immediately after consuming stain-causing foods and beverages. This simple act helps wash away pigments before they have a chance to adhere to your enamel, significantly reducing future discoloration. Remember, these methods are intended to complement, not replace, regular dental check-ups and professional advice. Always consult your dentist if you have concerns about tooth sensitivity, persistent discoloration, or before starting any new oral care regimen, especially if you have existing dental conditions. With a mindful approach and these accessible kitchen ingredients, you’re well on your way to a more confident, radiant smile.